Rack Mount installation can be tricky, especially when factoring in your equipment type, sizing, tools needed, etc. But with these tips, you’ll be able to get your rack set up in no time!
It is important to not pre-drill, or pre-cut any holes, fittings, or fixtures until you get your parts in hand to prevent misalignment, sizing, or design issues.
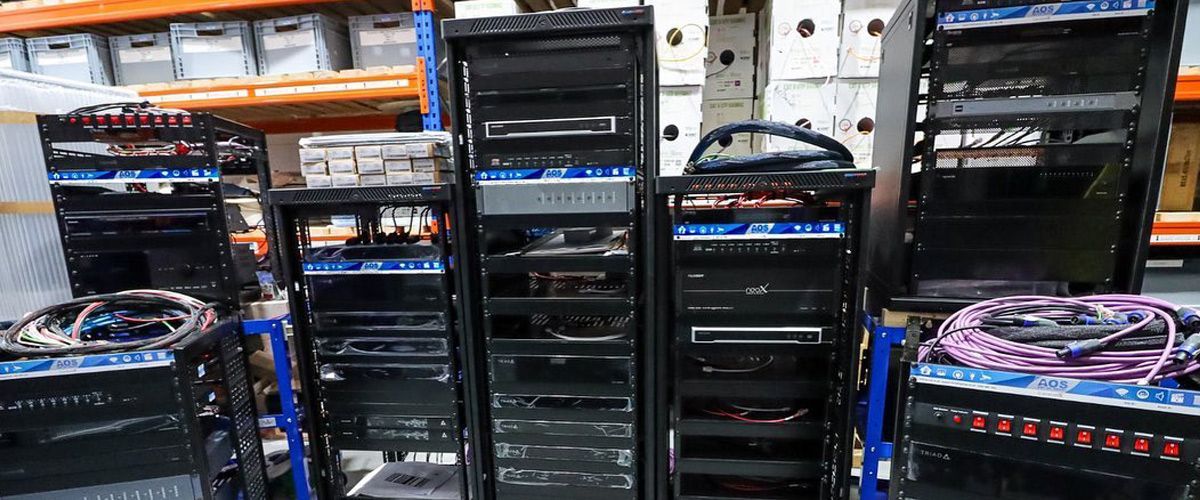
Plan your installation ahead of time and carefully consider airflow, weight distribution, and ease of access.
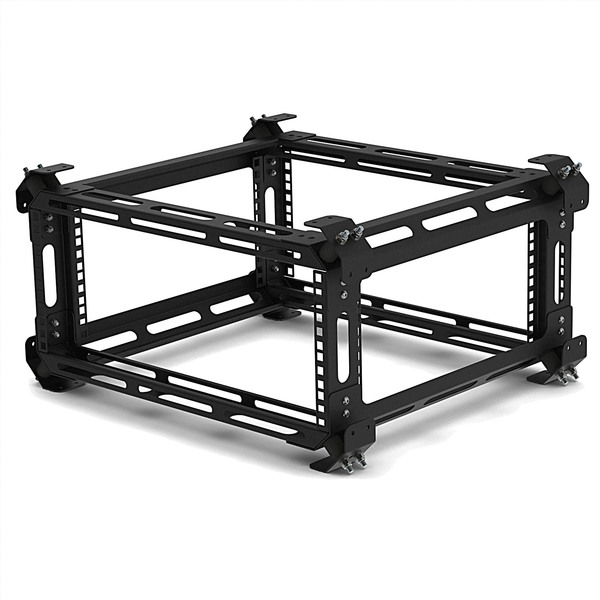
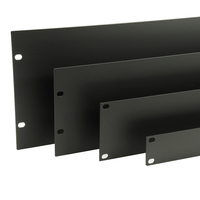
Spacing and sizing is critical in determining how much rack unit space you will require. With our Rack Unit Calculator, you can convert Rack U’s into cm, in. and ft, perfect for helping you determine exactly what equipment to buy. This will also help you determine how much space it occupies so you can leave space for ventilation and future expansion if warranted.
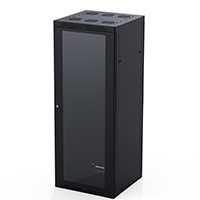
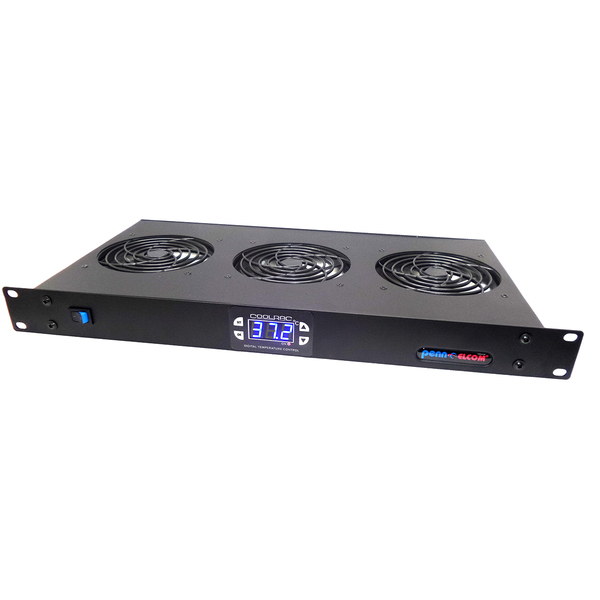
Ensure you allow room for sufficient ventilation and airflow. You may want to leave space between devices for airflow or use Rack Fans to prevent overheating. Avoid placing your rack near windows to prevent exposure to the sun’s heat.
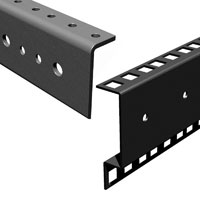
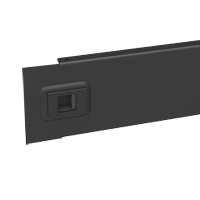
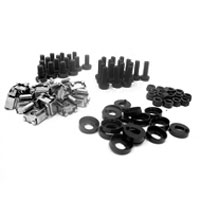
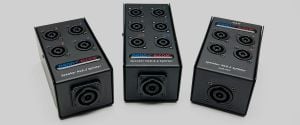
Your application will require a variety of screws and fasteners. You can save yourself time and pain (no more cutting your fingers!) with this Deluxe Cage Nut Insertion/Extraction Tool. The cage nut is placed in the jaws of the tool which then squeezes the sides of the cage nut to allow the legs to be easily inserted into the rack rail hole. See how it works:
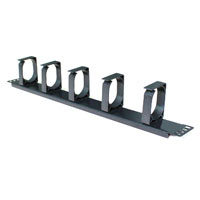
Make life easy and use labels and organisers. Placing labels on cables and ports helps with troubleshooting and management in the future. We have a wide selection of rack cable management solutions to help with organisation. Cable organisers will help keep everything neat and tidy, minimizing clutter, will help with device management and helps make installation easy!
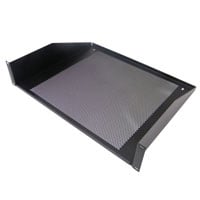
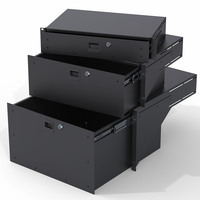
You will want to check the weight limits of your rack and distribute the weight accordingly. Place heavier items lower in the rack for stability. If the rack is heavy, secure it well to the wall or floor to prevent it from tipping.
We hope these tips make your installation process smoother and more efficient.
Using these strategies will help you enhance the functionality and longevity of your rack mount set-up, allowing it to serve you well for years to come!
EXPLORE THE RANGE...